A Guide to TIG Welding Stainless Steel Pipes
Weak, corroded pipe welds hurt your business reputation. Rework costs time and money. Master TIG welding[^1] for perfect, durable joints every time with our expert guide.
TIG welding stainless steel pipe requires meticulous preparation, correct equipment settings, and precise execution. Key steps include cleaning the metal, selecting the right tungsten and shielding gas, maintaining a steady arc, and proper post-weld treatment to ensure a strong, corrosion-resistant joint.

In my 15+ years in the tube mill industry, I've seen firsthand how critical weld quality is. The global demand for high-quality stainless steel products is exploding, and TIG welding is at the heart of meeting that demand. It offers unmatched precision, which is non-negotiable in sectors from automotive to food processing. This guide distills my experience into five clear, actionable steps. Follow them, and you'll produce welds that are not only strong but also meet the highest industry standards. Let’s dive in.
How Do You Prepare Stainless Steel Pipes for TIG Welding?
Dirty pipes cause weld defects. Contaminants ruin the joint's integrity. Proper cleaning and joint preparation are the first steps to a flawless, professional-grade weld.
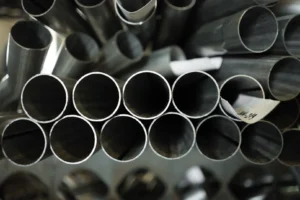
Prepare stainless steel pipes by thoroughly cleaning the weld area with a dedicated stainless steel brush and a solvent like acetone. Ensure a precise fit-up with minimal gaps and bevel the edges for thicker pipes to guarantee full penetration.
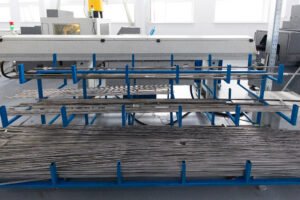
At XZS, we always say that 80% of welding success happens before you ever strike an arc. Preparation is everything. You cannot achieve a clean, strong weld on a contaminated surface. The process is straightforward but requires attention to detail. I break it down into two main areas: cleaning and fit-up.
Cleaning the Surface
Stainless steel's protective chromium oxide layer[^2] is what makes it "stainless," but any oil, grease, paint, or dirt on the surface will cause major issues like porosity when welded. First, wipe the pipe ends—both inside and out—with a clean cloth and a degreasing solvent like acetone. After that, use a wire brush to clean the area. Crucially, this brush must only be used for stainless steel. Using a brush that has touched carbon steel will transfer iron particles and cause rust.
Joint Design and Fit-Up
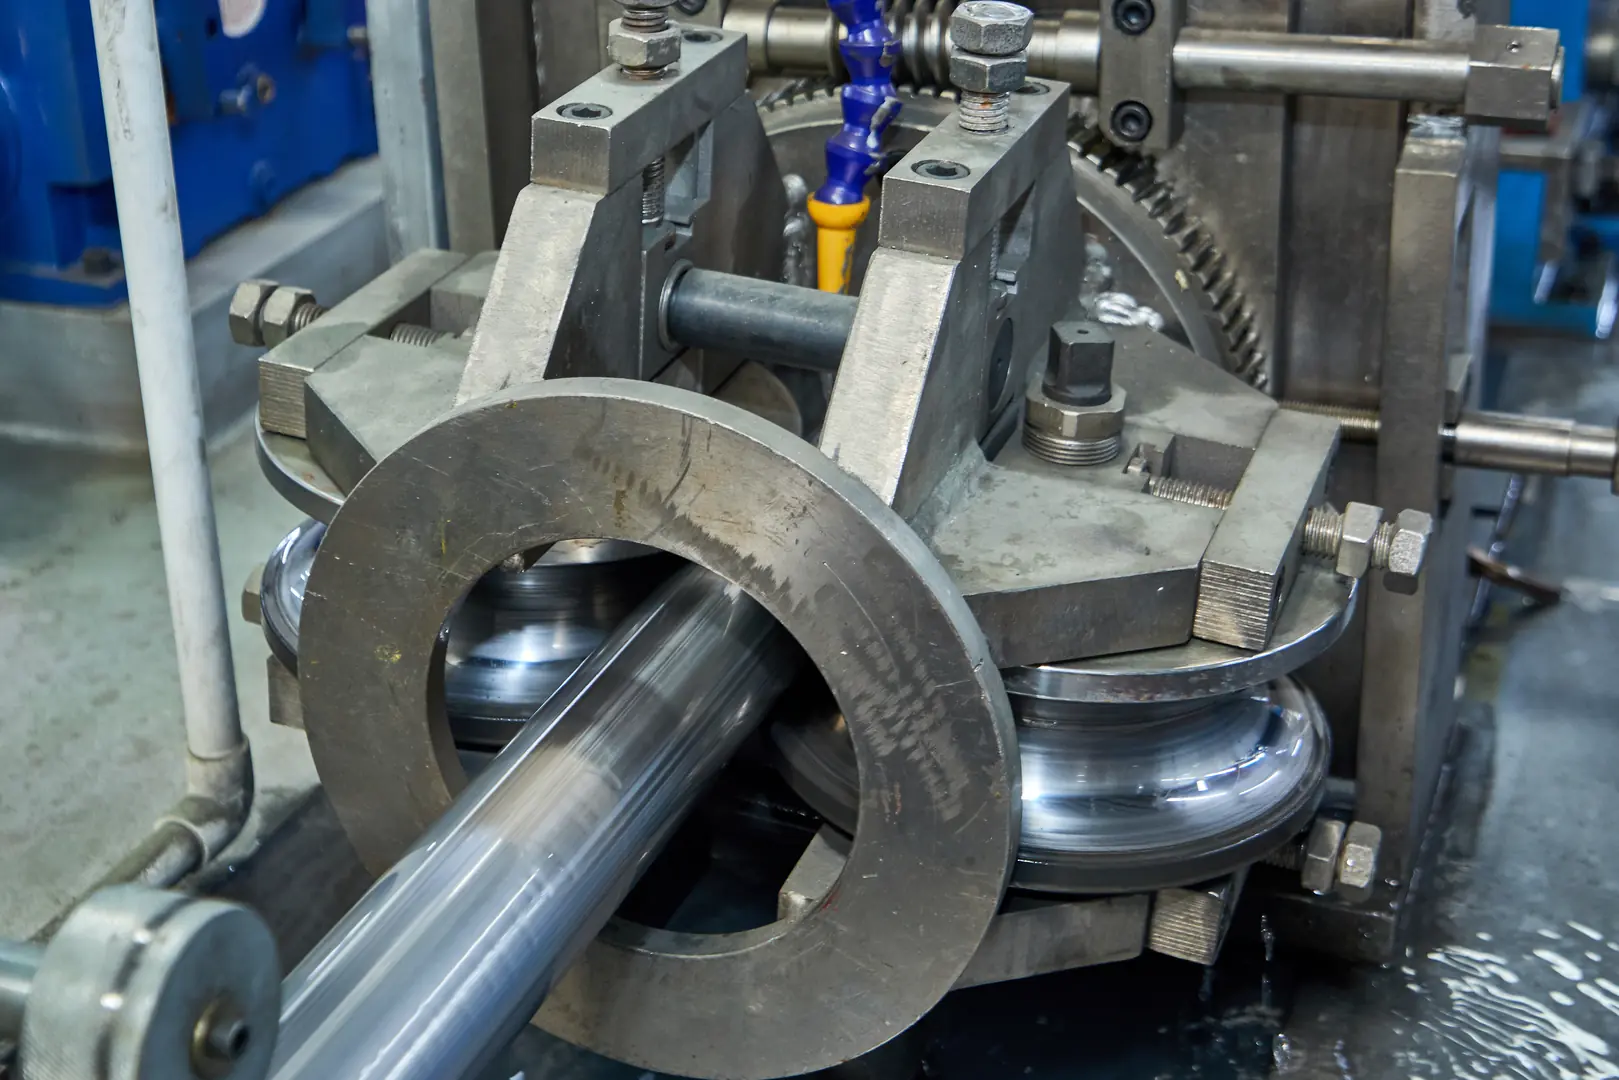
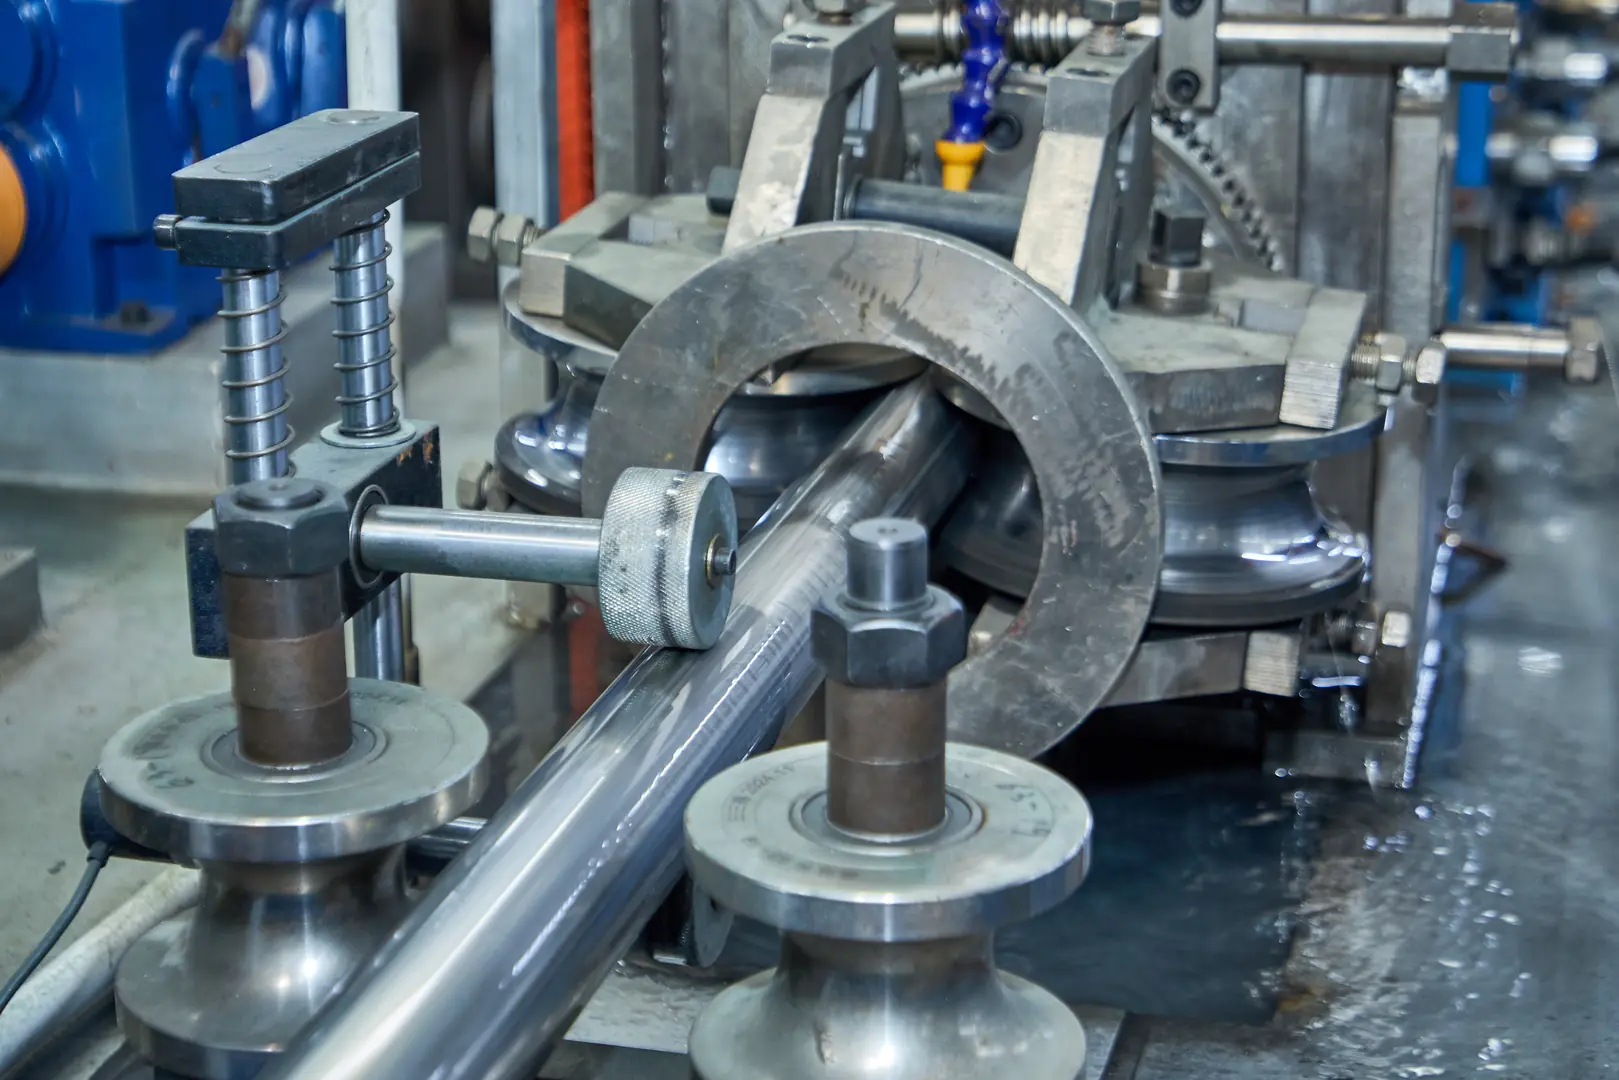
The goal is a tight, uniform joint. For thin-walled pipes (under 2mm), a square butt joint with no gap is usually sufficient. For thicker pipes, you must bevel the edges to create a 'V' groove. This ensures the weld penetrates the full thickness of the material, creating a much stronger bond. A precise fit-up with no gaps prevents burn-through and ensures the final product is dimensionally accurate.
What is the Right TIG Welding Equipment and Settings to Select?
Wrong settings burn through thin pipes or create weak welds. Frustration mounts as you waste material. Choosing the right equipment and parameters is critical for control.
Select a TIG welder with high-frequency start and amperage control. Use a 2% thoriated or lanthanated tungsten electrode. Set your machine to DCEN (Direct Current Electrode Negative) and use 100% argon as the shielding gas for optimal results on stainless steel.
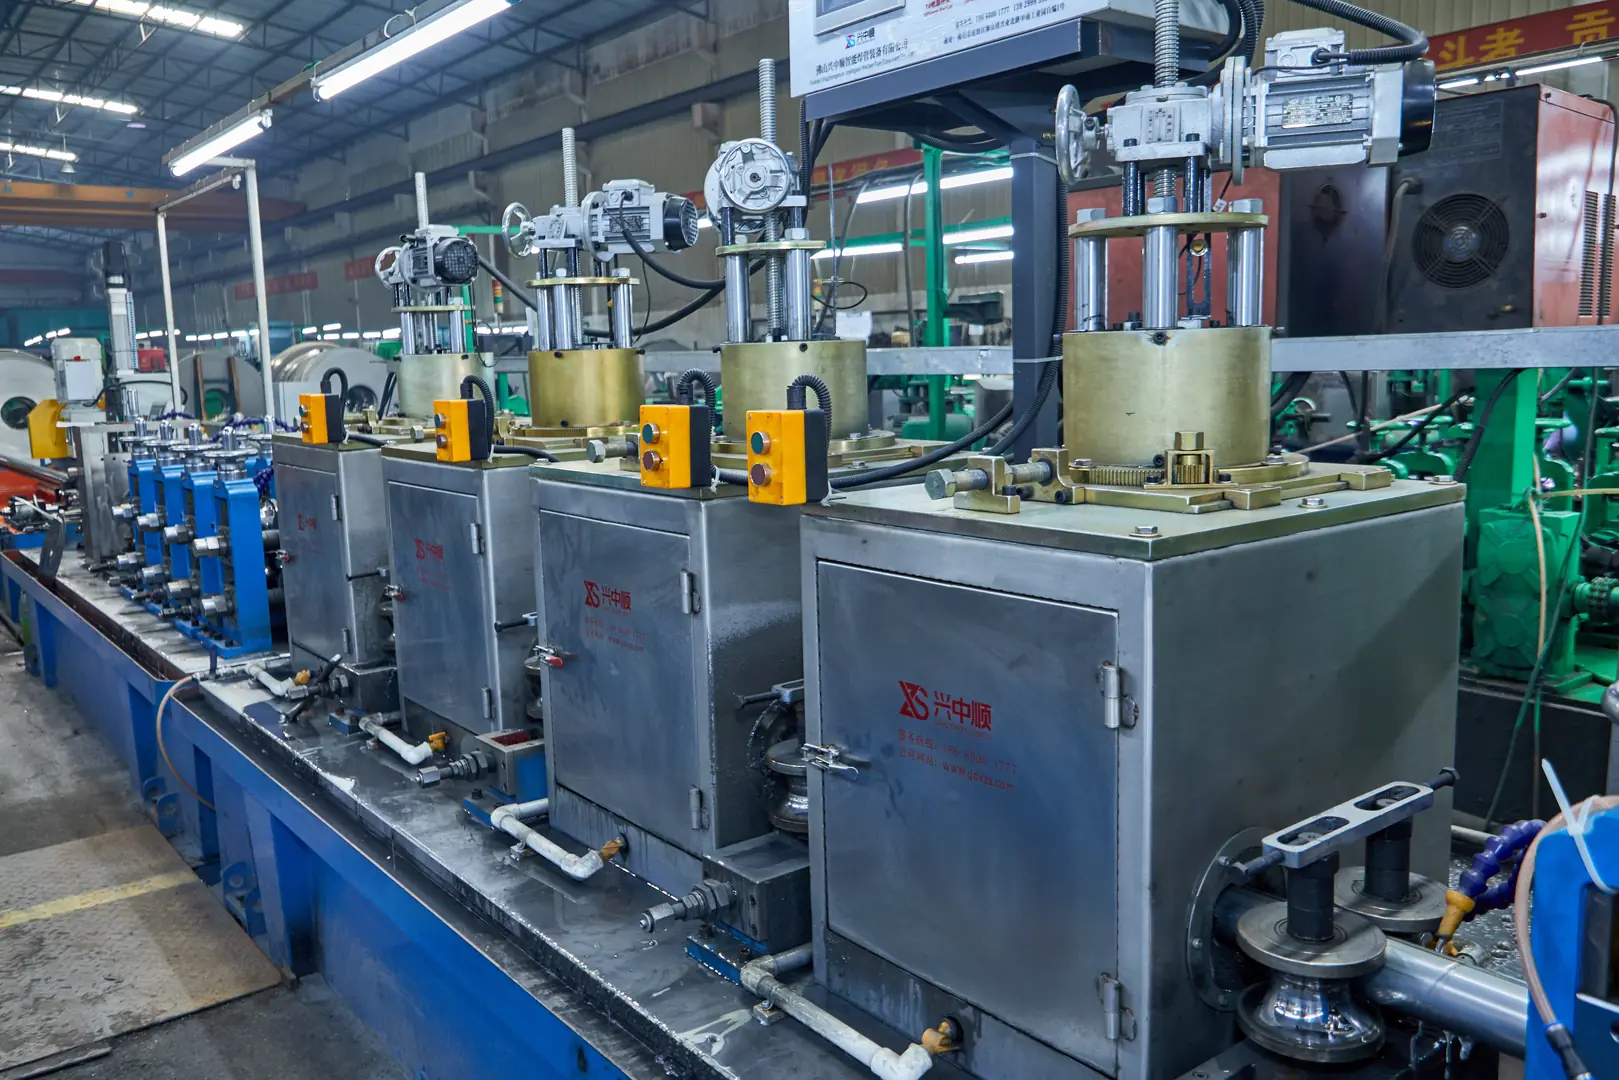
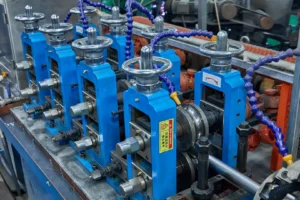
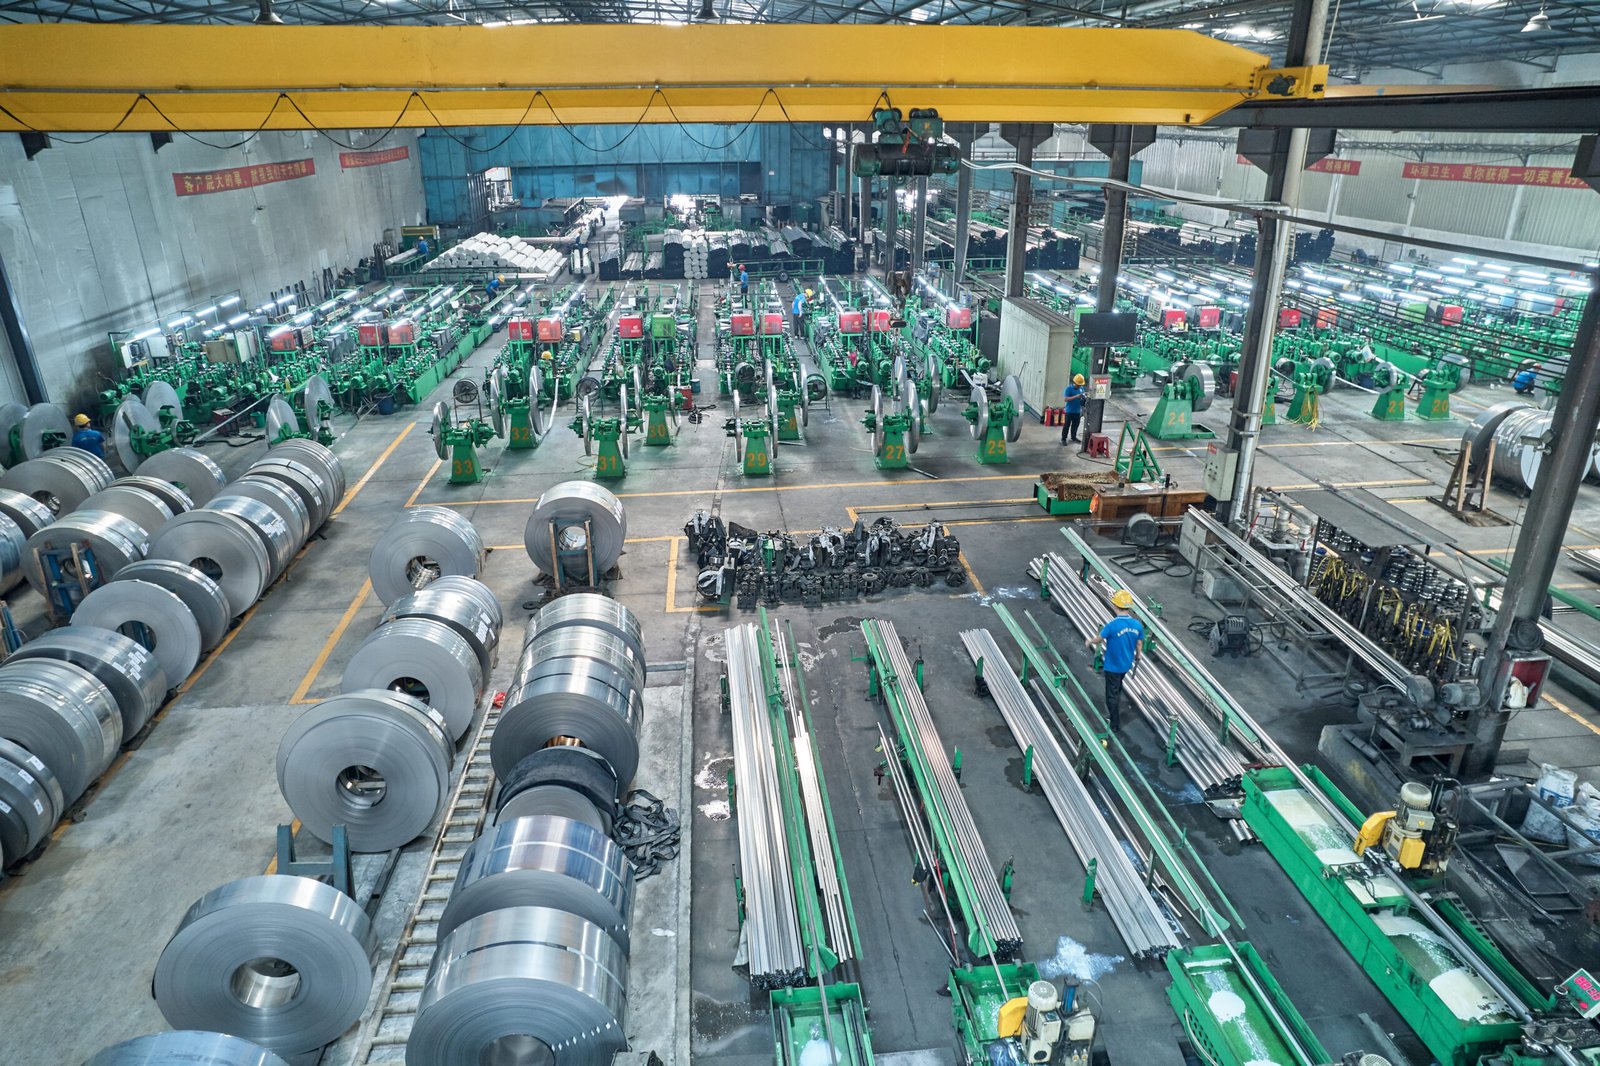
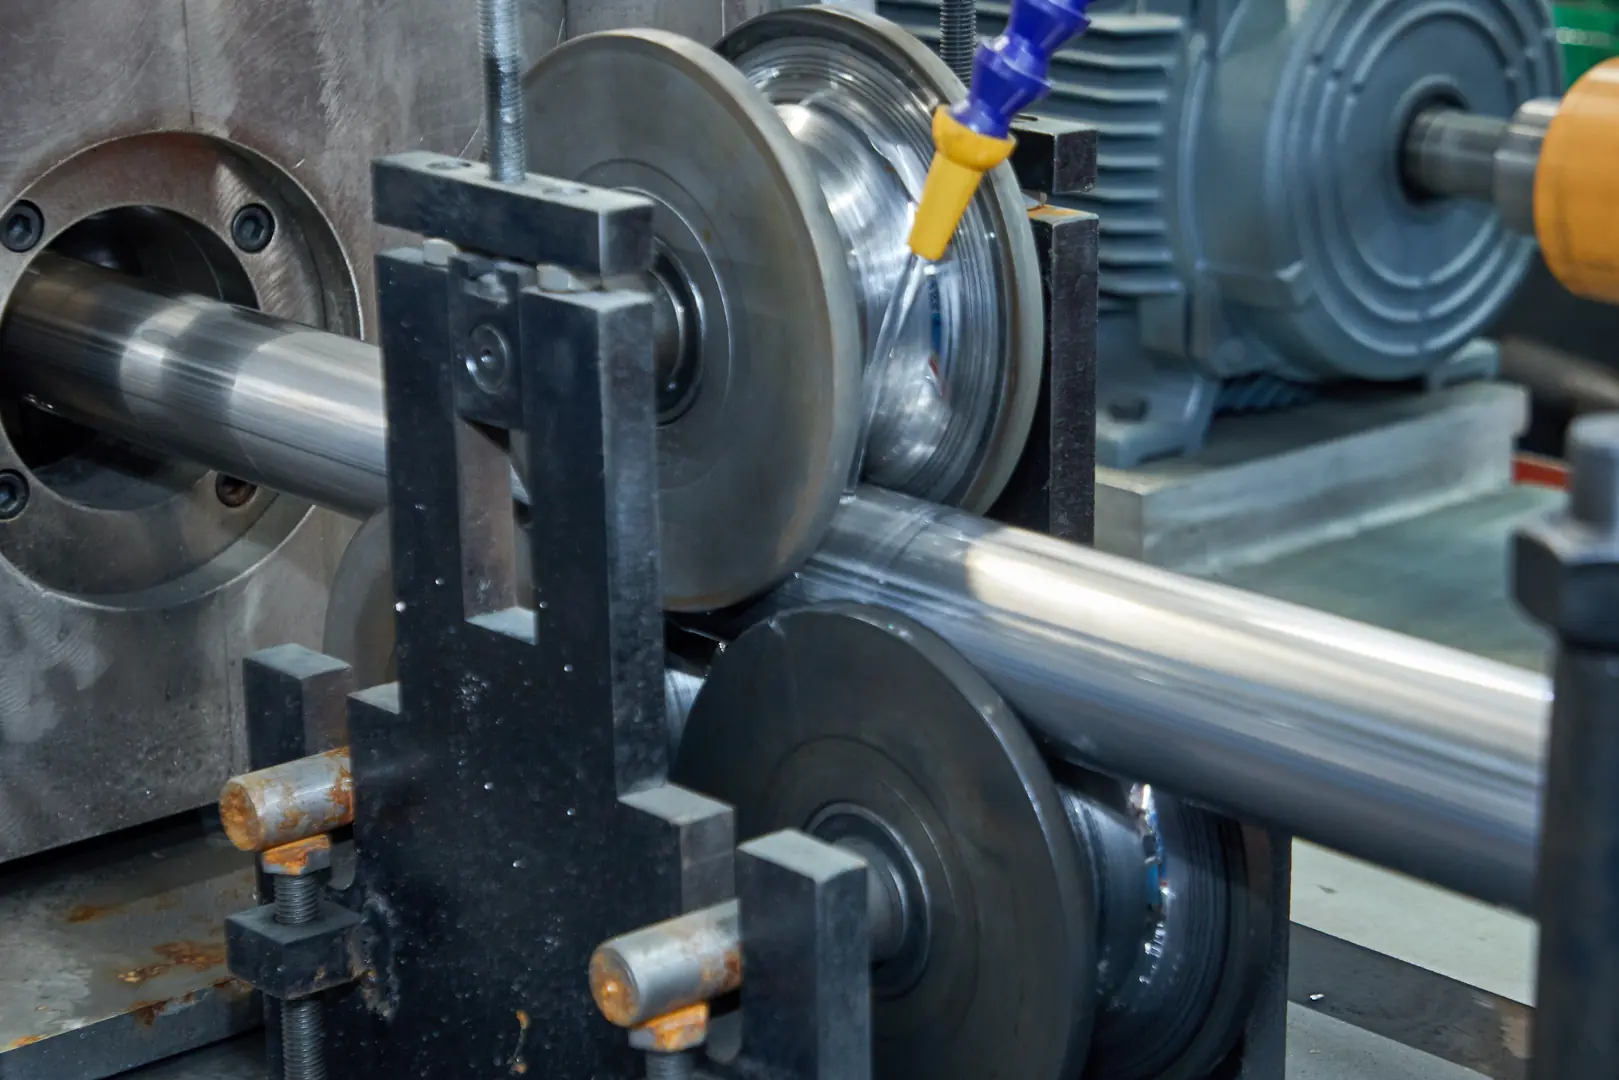
Your equipment is your partner in this process. Having the right machine and dialing in the correct settings makes the difference between fighting the material and working with it. In our XZS smart factory, we rely on intelligent production lines with precise controls, because we know that consistency starts with the machine. For TIG welding stainless steel, your setup is key. You need a TIG welder that offers a stable arc. A high-frequency (HF) start is essential because it allows you to initiate the arc without touching the tungsten to the workpiece, preventing contamination. Your machine should be set to DCEN, where the current flows from the machine to the torch. This directs most of the heat into the workpiece, which is ideal for stainless steel. Pure argon is the go-to shielding gas; it’s inert and provides excellent protection for the weld puddle.
| Pipe Wall Thickness | Tungsten Diameter | Amperage (DCEN) |
|---|---|---|
| 1.5 mm (16 gauge) | 1.6 mm (1/16") | 40-70 A |
| 3.0 mm (11 gauge) | 2.4 mm (3/32") | 70-120 A |
| 6.0 mm (1/4") | 3.2 mm (1/8") | 120-200 A |
How Do You Execute the TIG Welding Process on Stainless Steel Pipes?
An unsteady hand creates an ugly, inconsistent bead. This undermines the structural integrity of the pipe. A steady, methodical technique produces strong, beautiful welds.
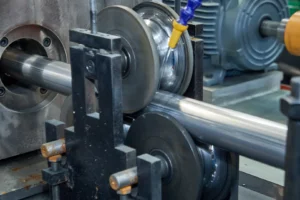
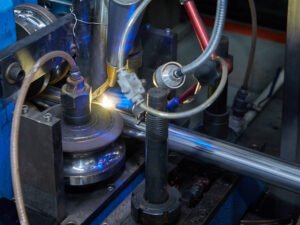
Execute the TIG weld by establishing a stable arc with a short length (1-2 mm). Move the torch at a consistent speed to form a molten puddle. Dab the filler rod into the leading edge of the puddle, not the arc, to create a smooth bead.
This is where skill and practice come into play. TIG welding is often called an art, and executing a perfect bead on a pipe is a true test of a welder's ability. The superior control TIG offers is why it's mandated for high-stakes applications like aerospace and food processing, where weld integrity is paramount.
Establishing the Arc and Puddle
Start the arc using your machine's high-frequency setting. Hold the torch so the tungsten is about 1-2 mm from the pipe surface. Once the arc is stable, hold it in one spot until a molten puddle forms. The size of this puddle should be consistent throughout the weld.
Torch and Filler Rod Technique
Move the torch smoothly and steadily along the joint line. For adding filler, I teach my team the "dab" technique. Gently dab the end of the filler rod into the leading edge of the molten puddle, then pull it back out. Do not feed the rod directly into the arc, as this can cause spatter and disrupt the weld. This rhythmic motion of move-dab-move creates the classic "stack of dimes" appearance that signifies a quality TIG weld. Also, ensure the pipe's inside is purged with argon gas to prevent oxidation on the root of the weld.
How Do You Inspect Weld Quality and Address Defects?
Hidden defects can lead to catastrophic failure later. The liability and cost are enormous. Thorough inspection ensures your welds meet stringent industry standards.
Inspect TIG welds visually for uniform bead width, proper fusion, and absence of cracks or porosity. Address defects like undercut or lack of penetration by grinding them out and re-welding the area carefully to ensure structural integrity and compliance.
A weld isn't finished until it's inspected and approved. In our ISO 9001–certified facility, every weld on our machinery frames undergoes rigorous inspection because we know our customers depend on that strength. The same principle applies to the pipes you produce. The stringent quality standards in industries like pharmaceuticals demand flawless welds to prevent contamination, making inspection a critical step. Your first line of defense is visual inspection. A good weld looks good: it's uniform, has smooth transitions to the base metal, and shows no visible defects. However, some dangerous defects can be invisible. To address this, we use a combination of visual checks and understanding the root causes of common problems.
| Defect | Cause | Solution |
|---|---|---|
| Porosity | Gas contamination, dirty surface | Check gas flow, clean base metal thoroughly |
| Undercut | Amperage too high, travel speed too fast | Reduce amperage, slow down travel speed |
| Lack of Fusion | Amperage too low, incorrect torch angle | Increase amperage, aim torch at joint root |
| Cracks | Cooling too fast, wrong filler material | Pre-heat if needed, use correct filler rod for alloy |
What are the Best Post-Welding Treatment and Maintenance Tips?
Even a good weld can corrode if not treated. The "stainless" quality is compromised. Proper post-weld cleaning and passivation[^3] restore corrosion resistance for long-term durability.
After welding, clean the weld bead and heat-affected zone with a dedicated stainless steel brush to remove discoloration. Apply a passivating acid paste or bath to restore the chromium oxide layer, which protects the steel from rust and ensures maximum service life.
The final step is often overlooked, but it’s what guarantees the long-term performance and appearance of your stainless steel pipe. The intense heat of welding creates a discolored heat-affected zone (HAZ) around the weld. This discoloration, or "heat tint," is a sign that the surface's protective chromium oxide layer has been damaged, making it vulnerable to rust. Restoring this layer is not optional; it's essential for any application where corrosion resistance matters. From my experience, this is especially true for our clients in the food and beverage or sanitary-ware industries, where an aesthetically perfect and corrosion-proof finish is a requirement.
Mechanical and Chemical Cleaning
First, use a dedicated stainless steel wire brush or a specialized abrasive pad to mechanically remove the heat tint. Once the surface is clean and uniform, you must passivate it. Passivation is a chemical process using a nitric or citric acid-based gel. You apply the gel, let it sit for the recommended time, and then rinse it off thoroughly with clean water. This chemical treatment rebuilds the passive chromium oxide layer, fully restoring the "stainless" properties of the steel. This final touch ensures your weld is not only strong but will also resist corrosion for years to come.
Заключение
Mastering TIG welding on stainless steel pipes comes down to five key stages: meticulous preparation, correct equipment settings, precise execution, thorough inspection, and proper post-weld treatment. By following these steps, you ensure every joint is strong, durable, and meets the highest quality standards for any application.