How to TIG Weld Thin Steel Tubing?
Struggling with burning through thin tubing? A warped, weak weld costs you time and materials. Mastering TIG welding[^1] gives you the precision control you need for perfect results.
To TIG weld thin steel tubing, you must use a small-diameter tungsten electrode, appropriate filler metal, and low amperage settings. Maintain a tight arc, a fast travel speed, and a consistent torch angle to minimize heat input and prevent warping or burn-through.

In my 15 years of experience at XZS, I've seen how critical this skill is for industries that demand perfection, from automotive parts to decorative furniture. A perfect weld is not just about strength; it's about aesthetics and performance. Let’s dive deeper into the exact process I teach our clients to achieve flawless results every time, starting with the most important step: preparation.
How Do You Prepare the Welding Environment for Thin Steel Tubing?
Is contamination ruining your welds? A spec of dirt can cause porosity and weakness, failing quality control. A meticulously clean setup is your first step to a flawless weld.
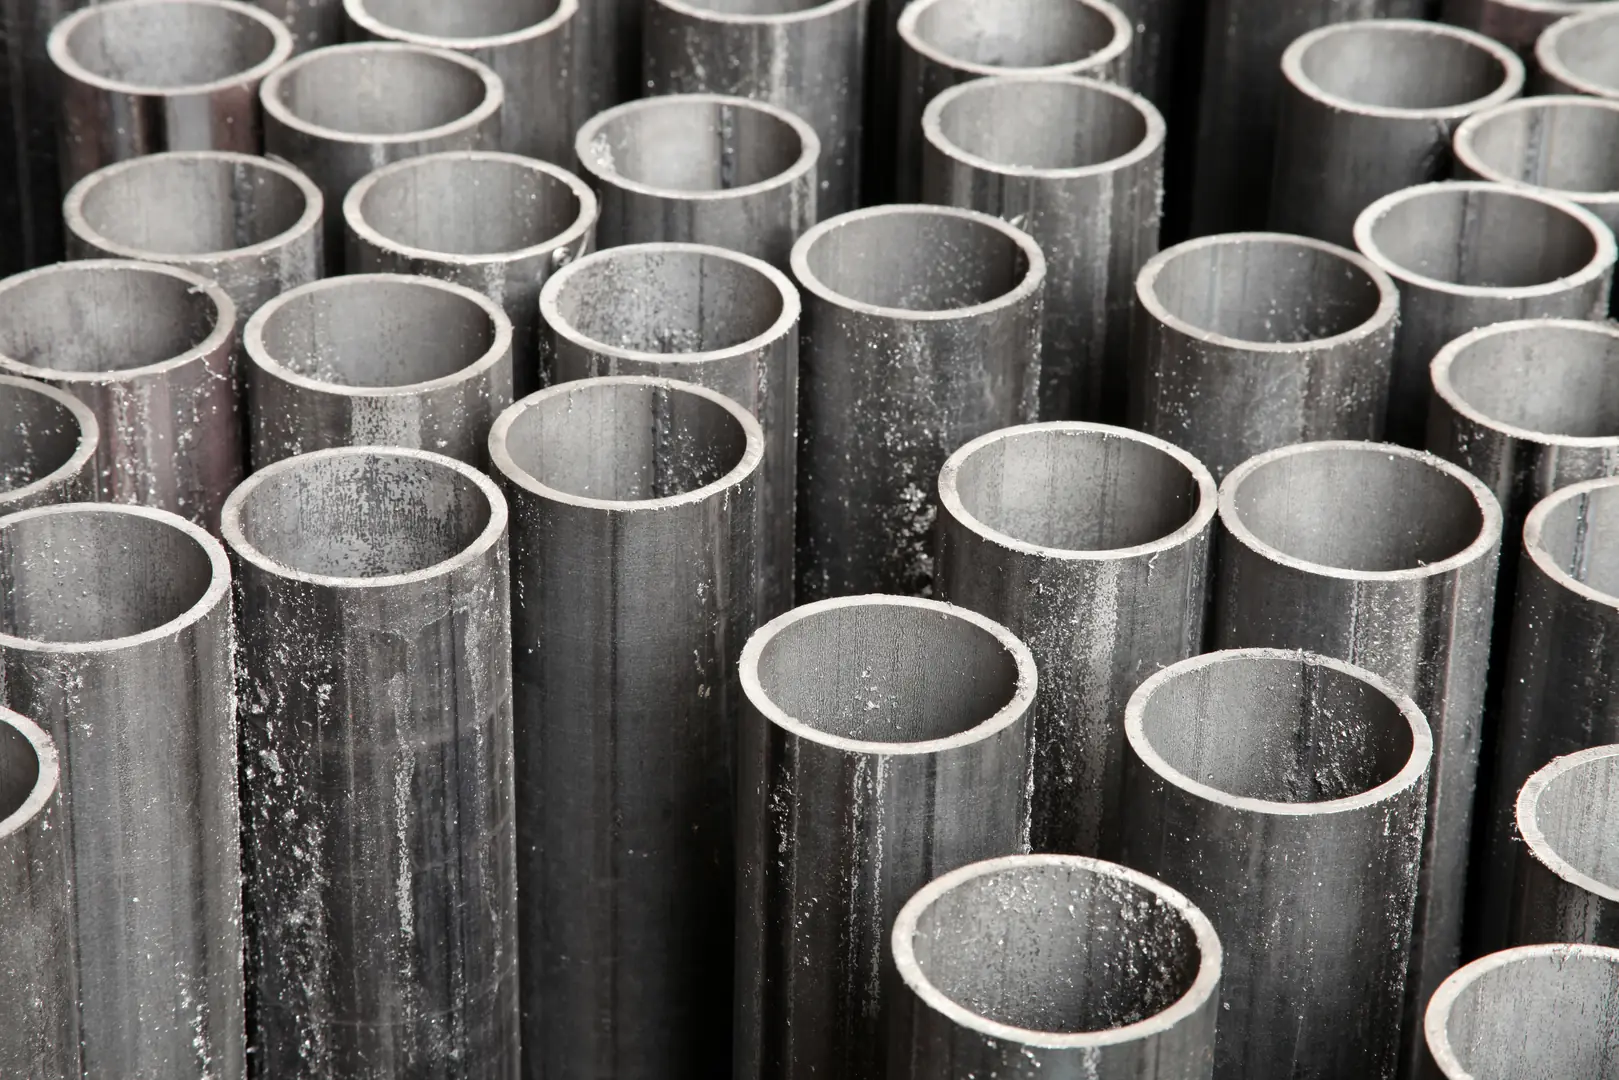
Prepare for TIG welding by thoroughly cleaning the tubing inside and out with a degreaser. Use a dedicated stainless-steel brush to remove oxides. Ensure a precise, gap-free fit-up and work in a draft-free area to protect the argon shielding gas from contamination.
In my work, I've seen firsthand that preparation is 90% of the job. This is especially true in high-stakes industries. For example, the global market for lightweight automotive materials is growing rapidly because manufacturers need to reduce emissions and improve efficiency. This means using thinner, stronger materials where every weld must be perfect. A contaminated weld on an exhaust system isn't just ugly; it can fail under stress. That's why we emphasize a two-stage preparation process.
Material Cleaning
First, every trace of oil, grease, or paint must be removed with a solvent like acetone. After cleaning, use a dedicated stainless-steel wire brush—and I mean dedicated. Never use a brush that has touched carbon steel, as it will transfer particles and compromise the weld.
Joint Fit-Up
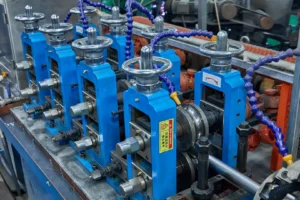
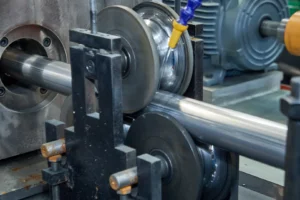
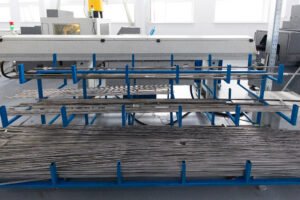
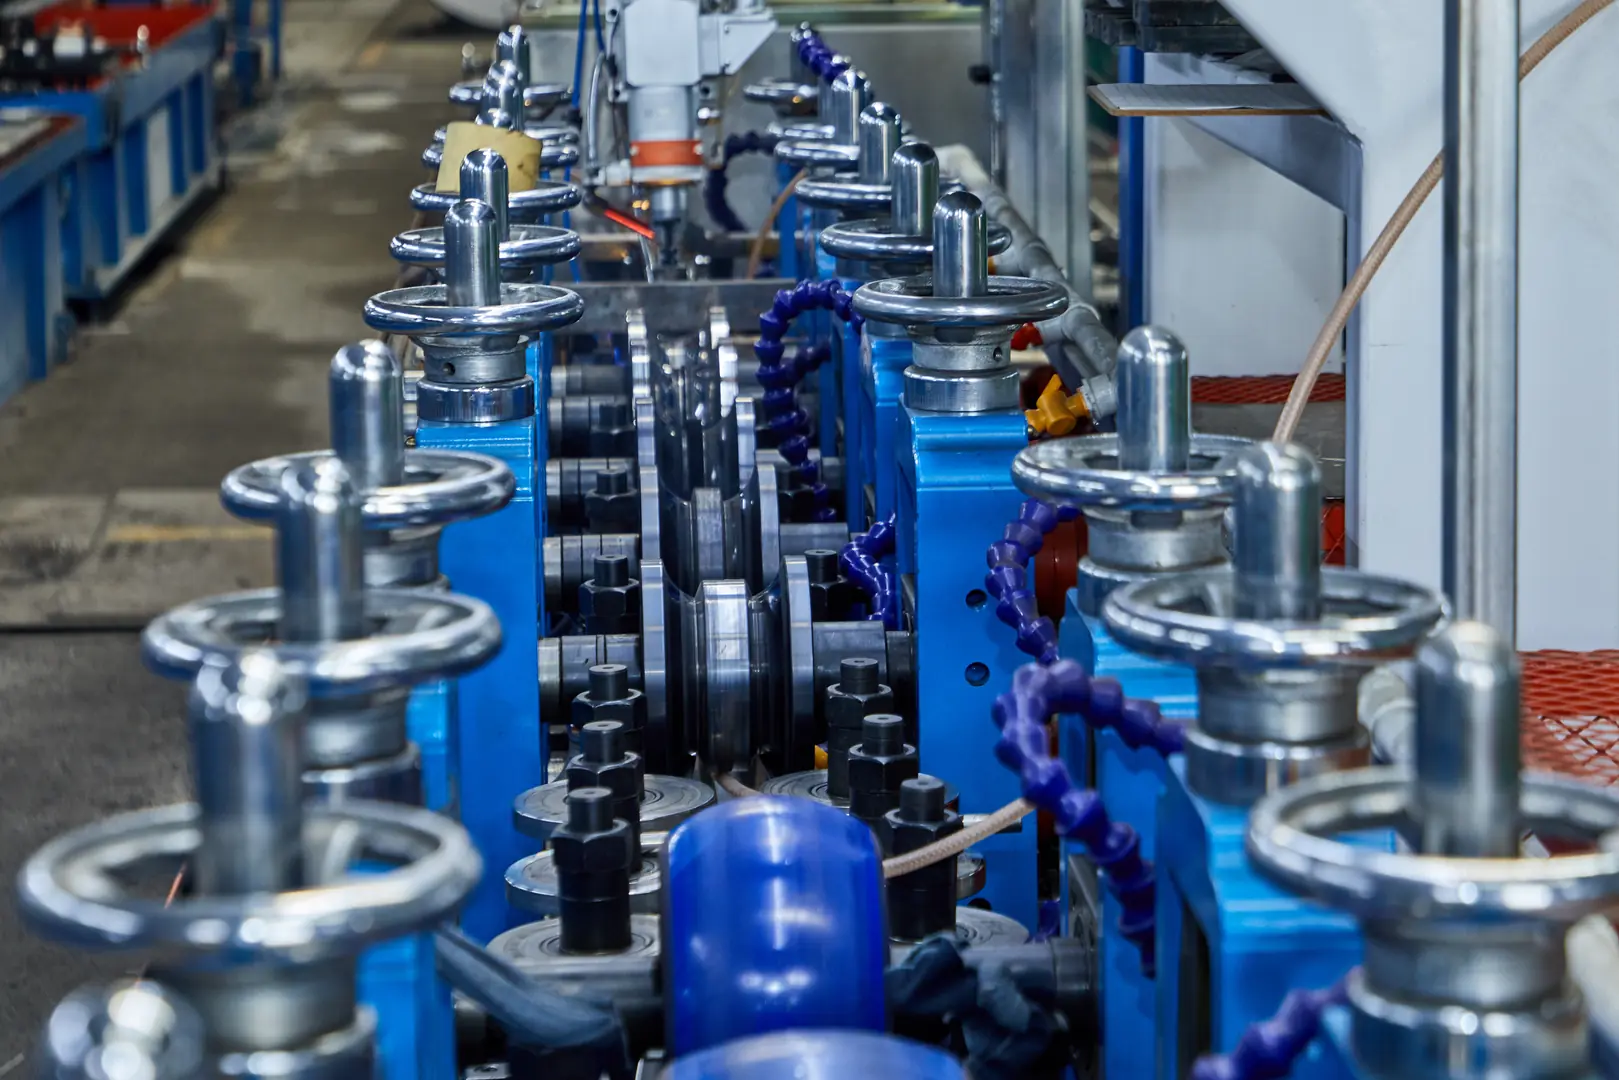
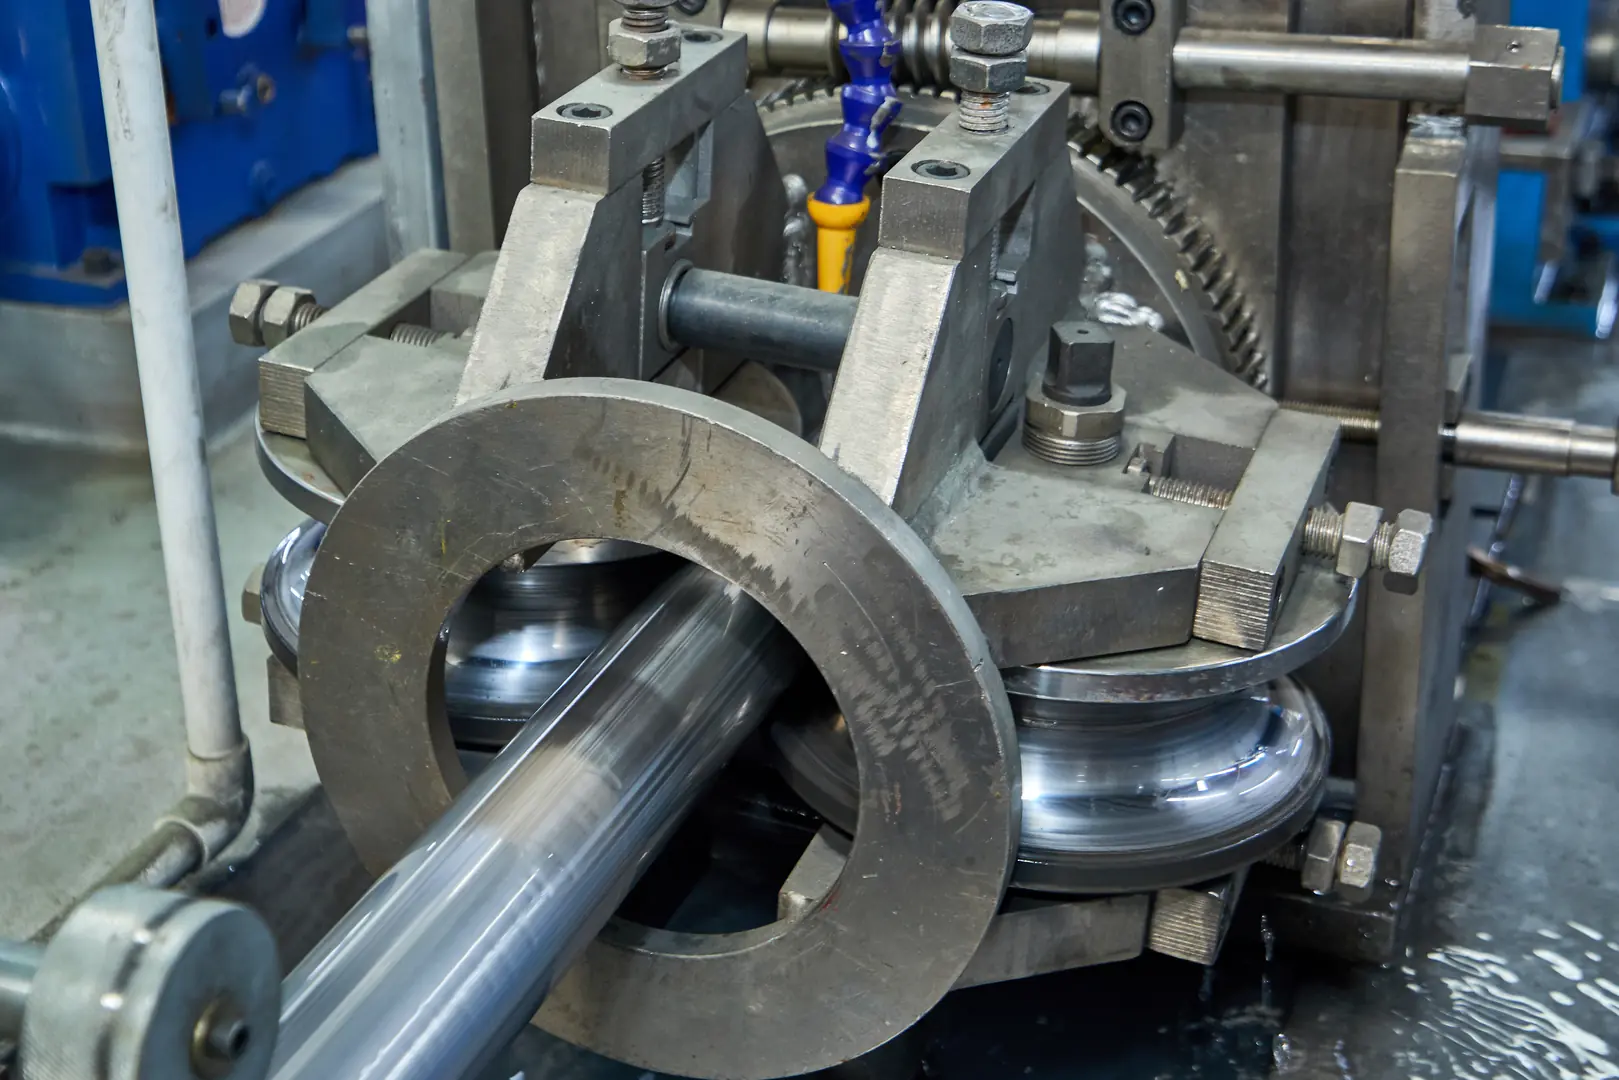
Second, the fit-up must be perfect. Thin metal has no tolerance for gaps. Any space will cause the material to burn away before you can fill it. The edges should be flush and tight, which is why precise tube cutting and forming, like what our XZS machines provide, is so crucial.
Why is Selecting the Right Equipment and Materials for TIG Welding Crucial?
Using the wrong gear for the job? The wrong tungsten or filler rod[^2] will fight you every step of the way, leading to poor results. The right tools make precision work possible.
For thin steel, select a 1/16" (1.6mm) 2% lanthanated or 2% thoriated tungsten electrode sharpened to a fine point. Use a filler rod (like ER70S-2) that matches the base metal and is equal to or slightly thinner than the material thickness. A gas lens is highly recommended.
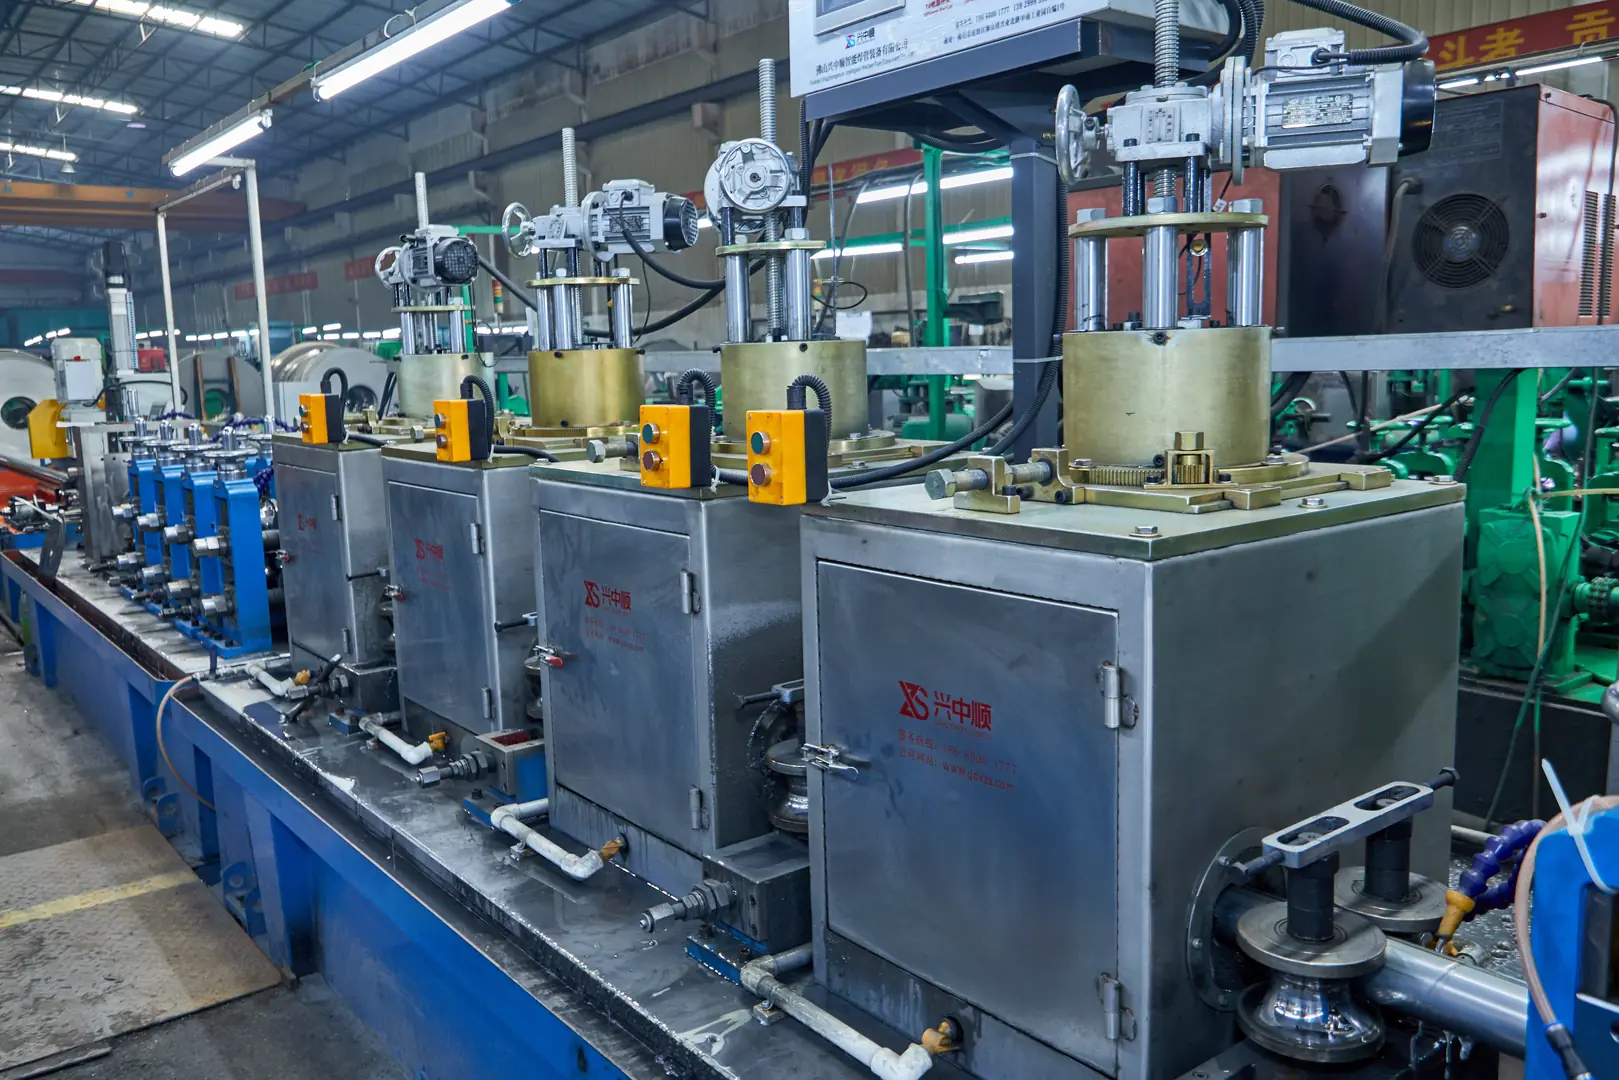
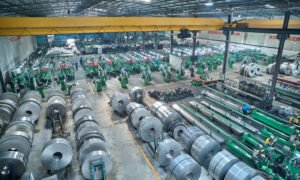
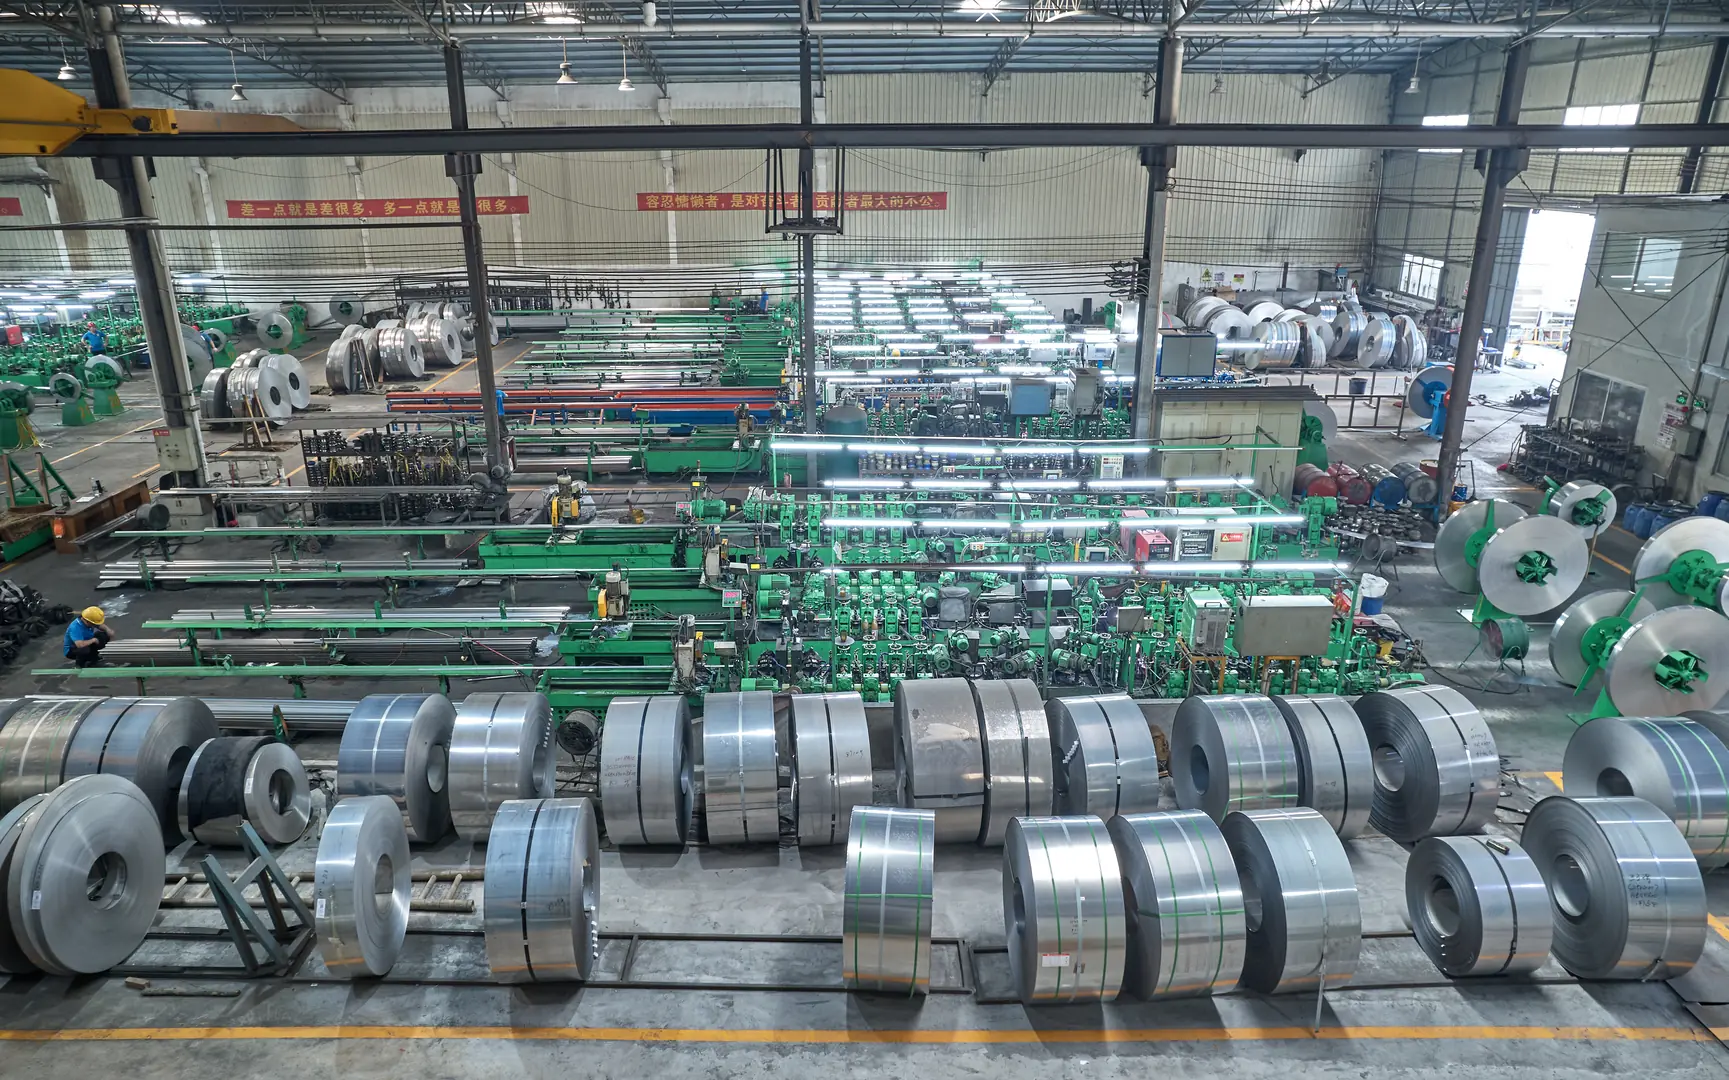
The push for greater efficiency in end-markets forces manufacturers like us to innovate. We see clients in the furniture and sanitary-ware industries who need perfect, almost invisible welds for aesthetic reasons. This requires equipment that offers superior control. Your choice of consumables is just as important as the welder itself. A standard collet body will work, but a gas lens provides a much smoother, more stable column of shielding gas. This is essential for protecting the molten weld puddle on thin material from any atmospheric contamination, resulting in a cleaner, stronger bond. At XZS, we design our automated production lines to integrate seamlessly with these advanced welding technologies, ensuring our clients can meet these evolving quality demands.
| Component | Recommendation for Thin Steel | Why It Matters |
|---|---|---|
| Tungsten Electrode | 1/16" (1.6mm), 2% Lanthanated | A smaller diameter and sharp point focus the arc, minimizing the heat-affected zone. |
| Filler Rod | ER70S-2, diameter ≤ material thickness | Ensures compatibility and allows you to fill the joint without adding excessive heat. |
| Shielding Gas | 100% Argon | Provides excellent arc stability and a clean weld finish on steel. |
| Gas Lens | Highly Recommended | Improves gas coverage, reduces turbulence, and allows for greater tungsten stick-out. |
How Do You Set Up the TIG Welder for Optimal Performance?
Are your settings burning through the metal? Incorrect amperage or gas flow can ruin thin tubing instantly. Dialing in your machine correctly is the key to controlling the heat.
Set your TIG welder to DCEN (Direct Current Electrode Negative). Start with low amperage—a general rule is one amp per thousandth of an inch of thickness. Set your argon gas flow to 10-15 CFH. Use a high-frequency, non-contact start to avoid contaminating the tungsten.
Modern welding systems offer incredible precision, which is a strategic advantage for any manufacturer. In our smart factory, we use advanced simulation to perfect the production process, and precise welding is a key part of that. For thin tubing, control is everything. You want just enough heat to create a puddle, but not a millisecond more.
Amperage Control
The "one amp per .001 inch" rule is a great starting point. If you're welding 1/16" (0.0625") tubing, start around 60-65 amps. A foot pedal is your best friend here, as it gives you dynamic control over the heat as you move along the joint.
Polarity and Gas Flow
Always use DCEN for steel. This directs most of the heat into the workpiece, not the tungsten. Your gas flow should be just enough to shield the weld; too much can create turbulence and pull in air. I recommend starting your post-flow at around 5-8 seconds to protect the weld and the tungsten as they cool.
What is the Correct Process for Executing the Weld on Thin Steel Tubing?
Is your hand unsteady during the weld? A shaky torch or wrong travel speed creates an inconsistent, ugly bead. A steady, methodical technique is what separates amateurs from professionals.
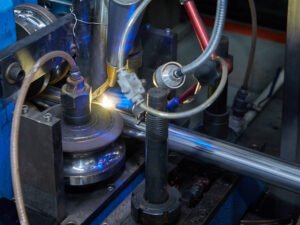
Establish a stable arc with a tight gap (about 1/16"). Maintain a 15-degree push angle and move quickly but steadily. Use the "dabbing" technique for adding filler metal, feeding it into the leading edge of the puddle to avoid excessive heat buildup and maintain control.
Technique is where skill and experience shine. I remember working with a client in the decorative furniture sector who was struggling with visible distortion on their products. We spent a day focused entirely on their technique. The key is to minimize heat input by moving fast. Don't linger. Your goal is to create a small, fluid puddle and move on. Establish the puddle, dab the filler rod into the front of it, and move the torch forward. This "dab-and-move" rhythm should be quick and consistent. Don't melt the filler rod with the arc; let the puddle melt it. This gives you precise control over the bead profile and, most importantly, prevents the heat from spreading and warping the thin tube. Brace your hands to keep the torch steady, and maintain a constant arc length and travel speed. It takes practice, but this rhythm is the secret to a beautiful, strong weld.
How Should You Inspect and Finish the Weld on Thin Steel Tubing?
Is your finished product not up to standard? Even a good weld can be rejected if it's not properly inspected and cleaned. The final steps ensure your work is professional.
Visually inspect the weld for uniform bead width, consistent ripples ("stack of dimes"), and full penetration. Check for defects like undercut, porosity, or cracks. After cooling, clean the weld area with a dedicated stainless-steel brush to remove discoloration.
At XZS, we not only make welding and forming lines but also automatic polishing machines, because we know the final finish is what the customer sees. A proper inspection ensures the weld is not just pretty but also structurally sound. After you've completed the weld and let it cool completely, your inspection should be methodical.
Visual Inspection Checklist
Look for a consistent, even bead. The width should not vary, and the color should ideally be a light straw to silver, indicating proper heat control and gas coverage. Check for any small pinholes (porosity), grooves along the edges of the weld (undercut), or any cracks. Any of these are signs of a problem in your preparation or technique and are grounds for rejection in a professional setting.
Post-Weld Cleaning
Once you've confirmed the weld is sound, the final step is cleaning. The heat will create a colored oxide layer around the weld. Use your dedicated stainless-steel brush to gently remove this discoloration. For high-end applications like sanitary-ware or furniture, this is often followed by a polishing process to create a seamless, flawless finish.
Conclusion
TIG welding thin tubing is a skill of precision. It demands meticulous preparation, correct settings, and a steady hand. By mastering these steps—from cleaning the material to the final inspection—you can produce the strong, clean, and professional welds required for any high-value application.